
Today, we are veering of course from the usual Window Treatments 101. Instead we will discuss another common application for our window treatments. Specifically, making and installing low profile roman shades for doors.
Over the years, we have made a lot of window treatments. This might be why Kim, during her “making window treatments on a pingpong table in her garage phase” used to have a memo pad that said “I do windows, etc.
Based on this drawing, it looks like she was doing window treatments in the early 1900’s. One our most popular window treatments, as seen in our etsy shop, is the roman shade. This style complements windows perfectly, providing instant style, color and privacy. Well, today” we are moving on from windows to discuss the “etc”. That would be doors.
The first thing that comes to mind when thinking about roman shades are probably not doors, but we do many. Believe it or not, some clients don’t want their neighbors peering in their door as they drive by. Or they want to avoid the UPS man dropping off a package from seeing them in their robe at two in the afternoon. Actually, forget we said that. Who would still be in a robe at 2 in the afternoon? Not us, of course, we’ve just heard some do.
In a world where there is little to no privacy these days, its window treatments to the rescue. We may not be as great as “lifelock” but we like to think we do our small part. Okay, getting slight off topic. If you don’t like all the rambling, please feel free to jump right to the installation instructions below. You won’t work my feelings. Well, maybe a little…
People do get a little confused about how to the roman shade thing on the door works. But, its really not that complicated. Roman shades for doors just require a little different way of manufacturing and installing. In this post we will explain these differences, and teach you how to install your own roman shade on your door.
First, windows on french doors and exterior doors, typically have little to no molding, as shown below. Often there is a little lip on the edge. The problem with this is if we put the roman shade on a standard board, the board depth would stick out about 1- 1/2 inches. This would leave a pretty large gap on the sides, and a less than ideal fit. And remember that privacy thing we were talking about…..?
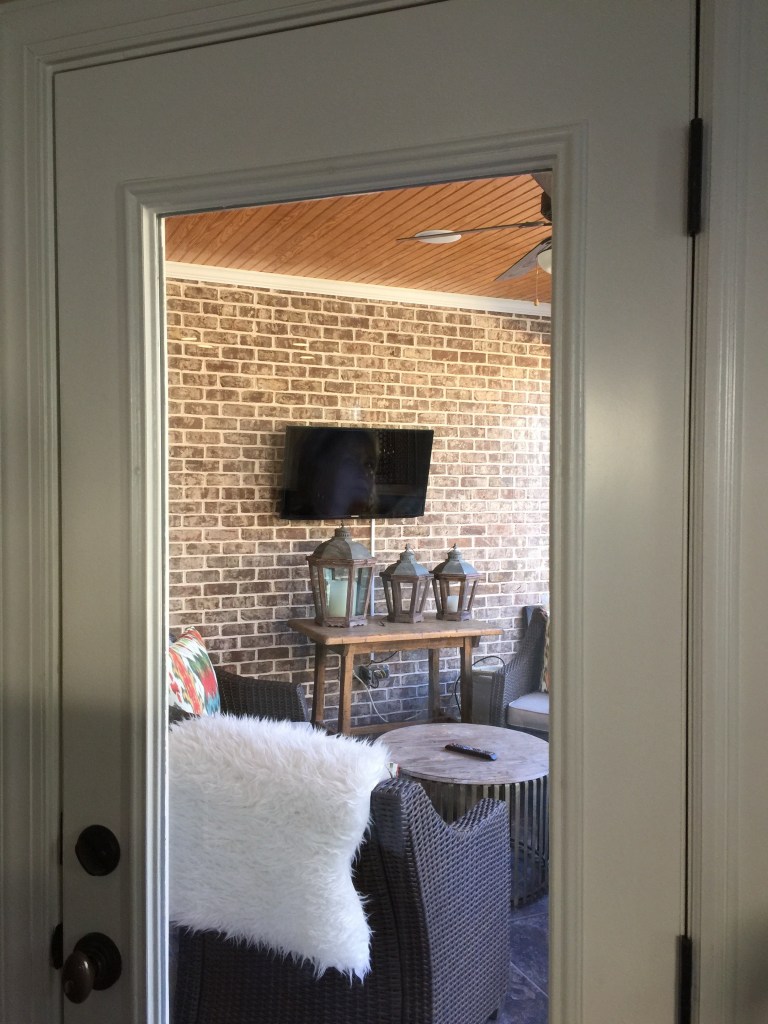
Instead we turn the board on its side and mount to that, creating a 5/8″ depth instead of 1 -1/2″. By doing this, we create a shallower (or is it more shallow) depth, so the board, as we like to say “hugs the door” and provides more of a flush finish.
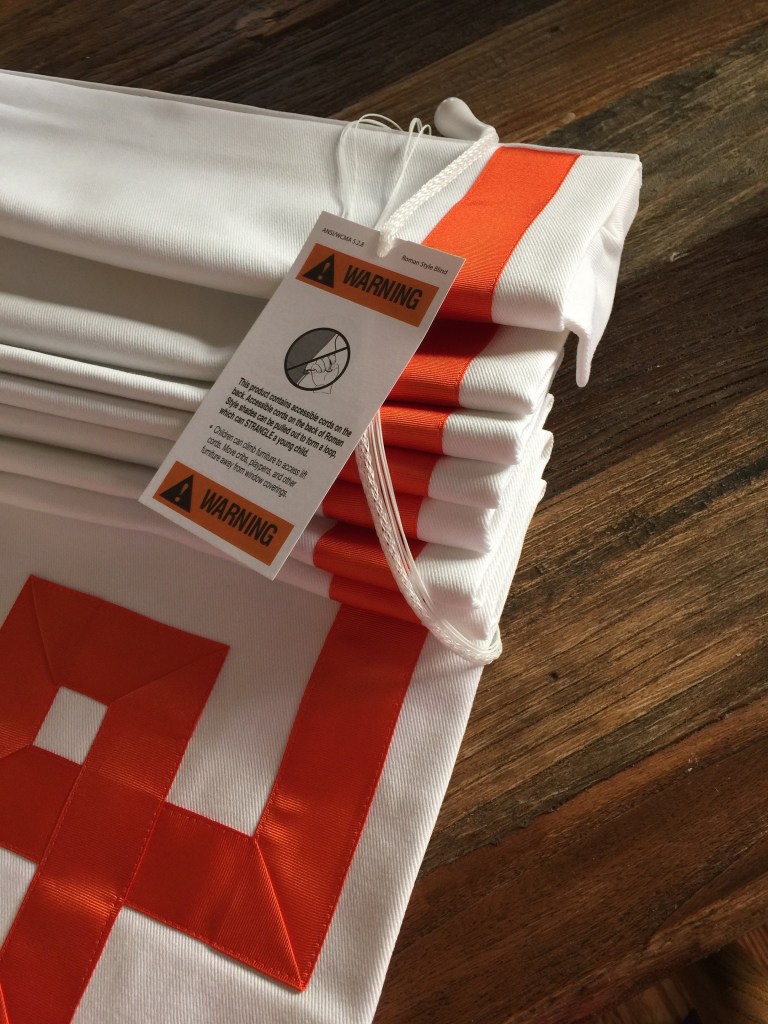
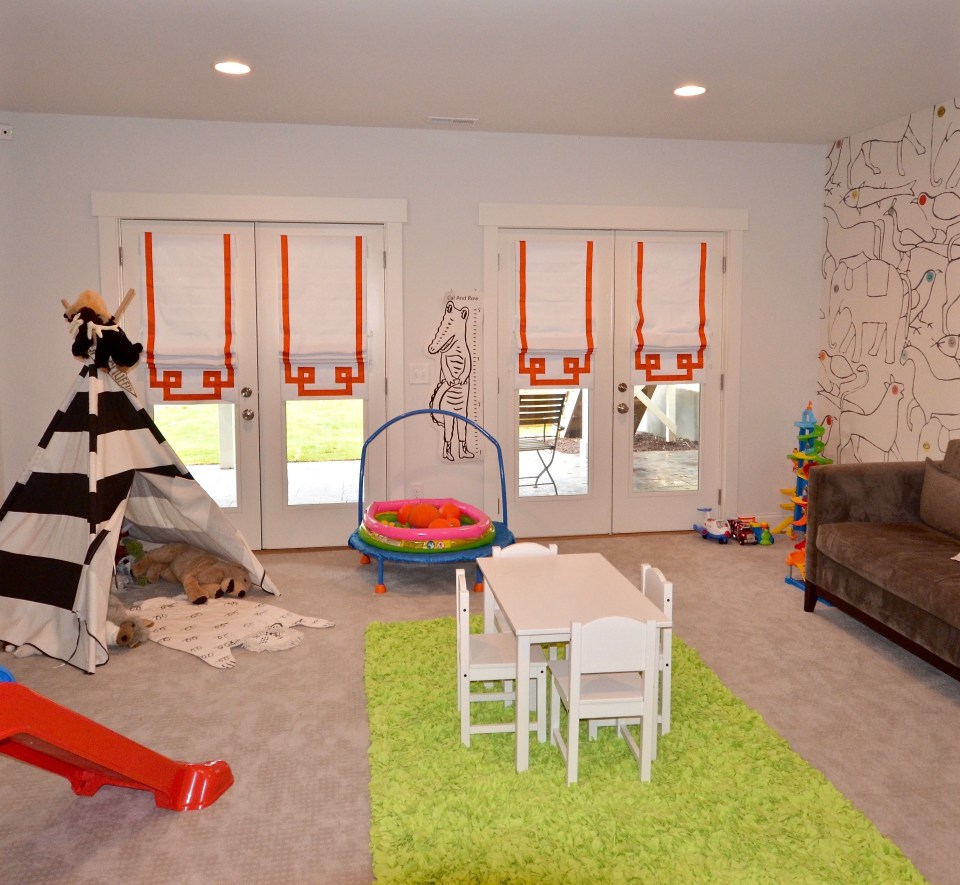
Above – this is a greek key designed shade we did for a client’s four doors in her ‘walk out’ basement. After seeing them installed in her boys’ play room, we decided we needed a time machine to come back as kids in 2017. This was like no playroom we had growing up. Loved it!
Below- the shallower (again thinking I need to get the grammar book out) depth sides have returns to provide a finished, custom look.

Installation
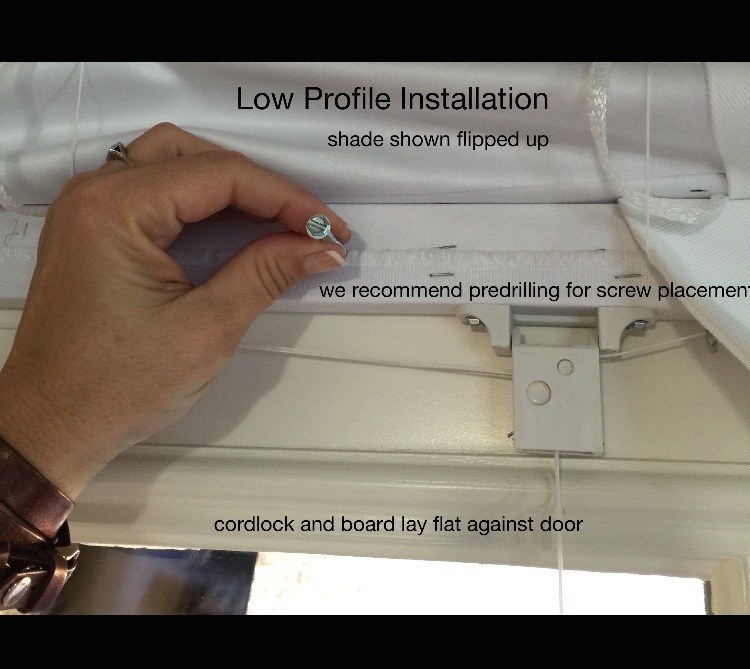
Installation for a door is very simple and only requires 2 screws (provided for you). It will also require a drill and can be done in 4 easy steps:
1. Remove screws from package provided.
2. Install 2 inches above frame so cord lock hangs freely.
3. Lift shade so you can access the board.
4. Drill directly through board into door. (Shown below) We highly suggest pre drilling unless you want to get really frustrated.


And the finished product!
So, there you have it. I know I could have done that in 50 words or less, but it wouldn’t have been as much fun.
hogs and kisses,
Kim and Jeanne
